The Delicate Chemistry Behind Your Favorite Holiday Candy
How to make picture-perfect chocolate at home.

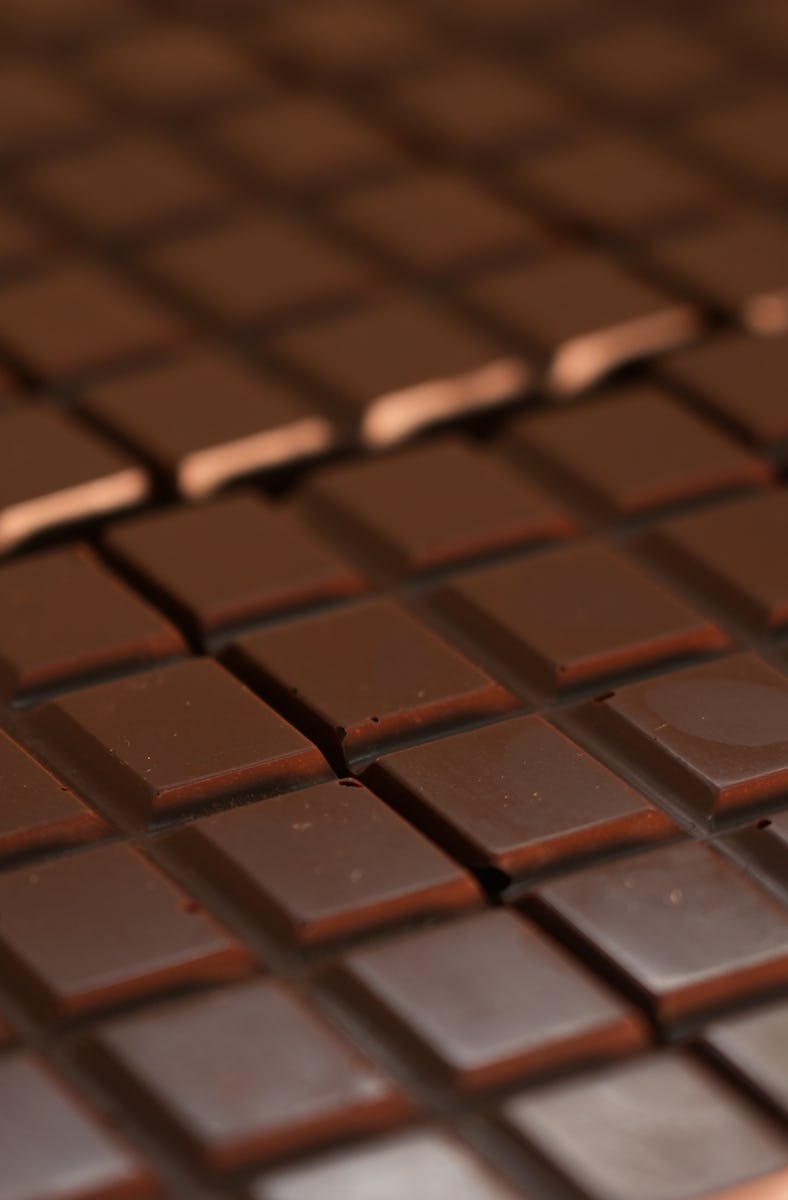
Breaking into a bar of chocolate is among life’s greatest simple pleasures. In fact, a shattering, melting piece of processed cocoa can turn a day around.
That characteristic snap is the result of tempering, a highly scientific and notoriously thorny process that has taken down even the most accomplished professional chocolatiers.
“When I started out, it felt like chocolate and [I] were enemies,” Romina Peixoto, a chocolatier who served as an executive pastry chef at The Chocolate Room in Brooklyn, New York, from 2016 to 2022, tells Inverse.
Fortunately, a solid understanding of the delicate chemistry involved — and a lot of practice — can turn anyone into a studied tempering master.
What is tempered chocolate?
“It won’t melt your hands, but it will melt in your mouth.”
Simply put, tempering is the process of transforming a substance, in this case chocolate, from its liquid to solid state — known as crystallization — in a controlled manner.
A properly tempered bar of chocolate keeps its shape at room temperature but snaps, shatters, and melts smoothly when it enters your mouth. How you achieve this comes down to chemistry.
Chocolate is a combination of cocoa butter (the fat extracted from the cocoa bean), cocoa mass (what’s left after the cocoa butter is removed), and sugar. Milk chocolate also contains milk solids, which is what remains after water is extracted from milk.
Both speed and temperature can influence the shape and structure of the resulting crystals during the crystallization process. This, in turn, affects the texture and appearance of the solid. Chocolate’s temperature influences how fast the cocoa butter transforms into a solid. The colder the temperature, the faster the rate of crystallization. As such, various temperatures create distinct crystalline structures, and each structure has a different texture. Pastry chefs and chocolatiers classify these various patterns into six forms (written out as stages I through VI).
The chocolate texture we know and love is stage V. “This is the phase that chocolatiers want to keep,” Piexto says. “In phase V, the melting point is similar to body temperature. It won’t melt your hands, but it will melt in your mouth.”
Form V structure is created when melted chocolate is held between 88ºF and 92ºF. At this temperature, the molecules have time to seek out stable connections. At lower temperatures (stages I through IV), it’s forced to solidify quickly, seeking out whatever molecules are nearby to form the fastest connection.
How to Temper Chocolate at Home
The entire process seems simple enough, so why is it so hard for even master chefs to get just right?
Getting chocolate to form a particular structure requires carefully monitoring the temperature during the melting and cooling process. Piexto recommends using an infrared thermometer to do this at home, although a candy thermometer can work in a pinch.
The first step of tempering is melting your chocolate down completely. Cocoa butter enters a liquid state at 115ºF, and any existing bonds will be broken. Microwaving whole chocolate or placing it in a double boiler are both good methods for this initial melting process. Piexto prefers the microwave, which lowers the risk of contaminating your chocolate with water (introducing water into melted chocolate can cause it to seize or break apart into a separated, grainy mess). It’s important to monitor the temperature during this phase as well. Chocolate is vulnerable to scorching, and heating it too far above 115ºF could ruin your batch.
After the chocolate is melted, it needs to be cooled to the target temperature range for form V, which is between 88ºF and 92ºF.
Chocolatiers often utilize the seeding method, in which solid chocolate is slowly added to the melted chocolate to lower the temperature. This technique is similar to cooling boiling water by adding ice cubes to it. In addition to cooling, the addition of stable, whole chocolate helps catalyze a reaction and encourages stable bonds to form. Agitating the chocolate by stirring is also important. As the molecules move around, they’ll seek out secure connections.
The entire process seems simple enough, so why is it so hard for even master chefs to get just right?
One possible reason is the fat content of your chocolate. The higher the percentage of fat, the lower the required temperature will be to melt it. Piexto recommends testing a small amount of chocolate to confirm it’s properly tempered before using it in your dish.
To do this, dip a butter knife or a spoon into the bowl and watch as the chocolate hardens. If it firms up quickly and has a pleasant sheen, you’ve successfully accomplished your task. If not, don’t fret. Many cooks have stumbled on this task before you, and the heating and cooling process can be repeated until you’ve perfected the art.